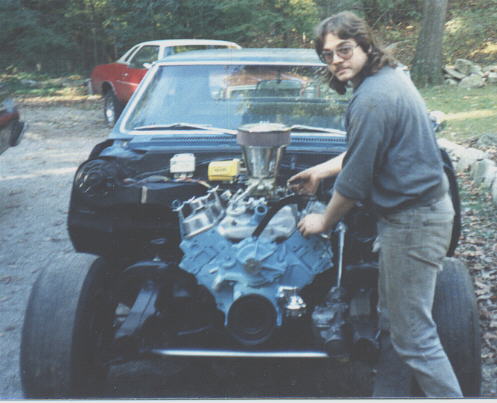
Before:

The process of discovery and disassembly shown here.
Note the filth and the rust (especially on the upper A-arms and the headers).
After:
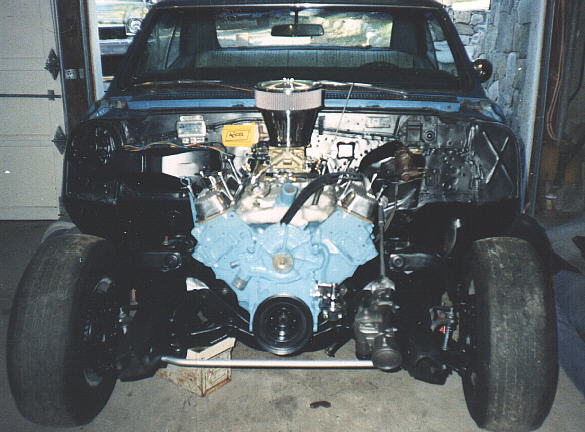
After:
| A similar shot to the "before" photo, but now seen
with the mostly reassembled freshly rebuilt motor, and every bolt and part
from the firewall forward either replaced or removed and painted.
Most notable are the A-arms, frame, sway bar, steering box and components. My friend Mike was restoring '65 GTO at the same time, so I had extra incentive. Every time I went by his place he had gone a step further than I had, so I would feel inadequate and have to do the same to mine. Bushings, bolts, everything. Most derusting was done with a hand drill, assorted wire wheels, and hours of arm numbing labor. Mike was a real help to me through this by the way. Spare parts, advice, and despite my objections sometimes, hours of labor. I'd be working on something up front and he'd be grabbing the compound and rubbing out the paint on the body. A true muscle car enthusiast! His GTO appears later on....... Oh, honorable mention also goes to Jose' whose El Camino (just visible in the background here and the next couple of pictures) carried the engine lift that made all this possible. These pictures and the "on the street" picture appear via his courtesy as well.
|
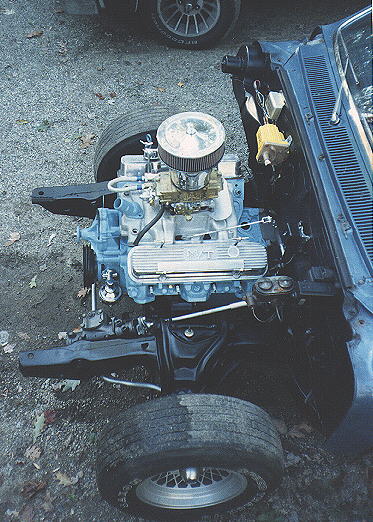
| More After
This one shows just how clean the frame and suspension came out. It also is a good shot of the motor. The intake is only placed there at this point for visual effect. This is just after we stuffed the motor between the frame rails. It was soon to be pushed into the garage for the above pictures and to have the freshly sandblasted and painted (with "Eastwood's Stainless Steel Header and Manifold" paint) headers bolted on.
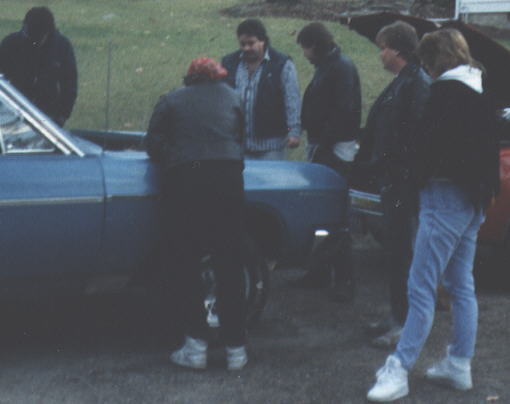
A team of experts and a Malibu converge on the mostly reassembled Buick to assist in the first firing. |